RV Travel Day Checklist: Why Each Step Matters
In this guide
- Phase 1, inside: everything that moves, stowed
- Phase 2, utilities: disconnect in the safe order
- Phase 3, outside walk-around: the roof and the ground
- Phase 4, hitching: the sequence that cannot be partly done
- The propane decision
- Phase 5, pull forward and look back
- Arrival: why it is its own list
- Travel-day gear
- Adapting the list to your rig
A travel-day checklist exists because an RV has about forty things that must be in a different state to drive than to live, and your memory is worst on the morning you most need it: packing up in the rain, after a bad night, with the kids in the truck. The interactive, printable version lives in our RV travel day checklist tool; tick it on your phone as you walk around or print a blank one for the door. This guide is the reasoning behind each phase of that list, so that when you are tired you understand what each item protects, and when your rig is different from the generic list you know what to add.
The departure list runs inside, utilities, outside walk-around, hitching (or cockpit for a motorhome), then the pull-forward check. The arrival list runs before you park, position and level, then utilities. The order is the point: each phase assumes the previous one is finished, and skipping ahead is how slides get extended with a tongue jack still down or a sewer hose gets dragged across a campground.
Phase 1, inside: everything that moves, stowed
The inside phase is about the twenty seconds after you pull onto the road, when every unsecured object becomes a projectile and every open cabinet dumps. The items are obvious (latch the fridge, close cabinet doors, lower the TV, secure the shower door, put the bathroom vent down) and the one that matters most is the slides. Lippert’s slide-out manuals give a short sequence for retracting a room: verify the battery is fully charged and connected, clear the room’s path of people and objects, hold the switch until the room stops moving, then fit the transit bars if the room has them. The battery detail is not filler: a slide motor on a weak battery stalls part-way, and a half-retracted room is a roadside day. Retracting is also when you discover the thing left on the slide floor that now jams the seal.
Before the slides come in, stop the fridge on whatever fuel it is using, or set it to the mode you have decided to travel on (see propane below), and check that nothing inside can slide into the door seal. After the slides: windows and roof vents closed, which a walk through the rig with the lights off makes easy to see.
Phase 2, utilities: disconnect in the safe order
Utilities come off in the order that protects the equipment and your hands. Electrical first, with the pedestal breaker switched off before the cord is unplugged; pulling a loaded plug arcs the blades, which is how pedestal receptacles get pitted and scorched for the next camper. Lock the surge protector in its bin; a portable EMS is the most-stolen and most-forgotten item on the pedestal, as RV surge protector basics explains. Water: close the campground tap, relieve pressure at an outside faucet, disconnect at the rig end first so the hose drains toward the tap, and cap the city-water inlet. Sewer last, because gloves are involved: dump black then grey if you have not already (our dump station guide has the sequence), rinse, cap the outlet, stow the hose in its own compartment, then the gloves go in the trash and your hands get washed before you touch anything else.
Then the tank state decision: if the next stop has no hookups, carry what fresh water you need and no more. Water is 8.3 lb per gallon; a full 60-gallon tank is 500 lb of payload that changes tongue weight and tire loading, which towing capacity vs payload covers. Arrive at a full-hookup site with the tanks empty.

Phase 3, outside walk-around: the roof and the ground
This phase catches the things nobody sees from the driver’s seat. Start at one corner and go around the same direction every time. Up: antenna down, vents closed, awning fully rolled and locked, satellite dish stowed, nothing on the roof. Down: stabilizers fully raised and pinned, leveling blocks and chocks collected (the chock under a curved leveler is the classic one), entry step retracted, nothing under the rig. Around: compartment doors latched and locked, propane compartment closed, cords and hoses stowed, the picnic table where you found it.
Tires belong in this phase and are the most important item in it. Goodyear’s RV tire care guide says to check pressure every morning on long trips and before leaving on short ones, cold, before the tire has rolled more than a mile, because a hot tire reads 10 to 15 psi high and the correct pressure comes from the load table for your actual weight, not from guesswork (Goodyear RV tire guide). Look at each tire for cracking and bulges while the gauge is on it. Our RV tire age and pressure guide covers why a seven-year-old tire with good tread is still a failure waiting to happen, and how to weigh at a CAT scale explains how to get the number the inflation table needs.
Phase 4, hitching: the sequence that cannot be partly done
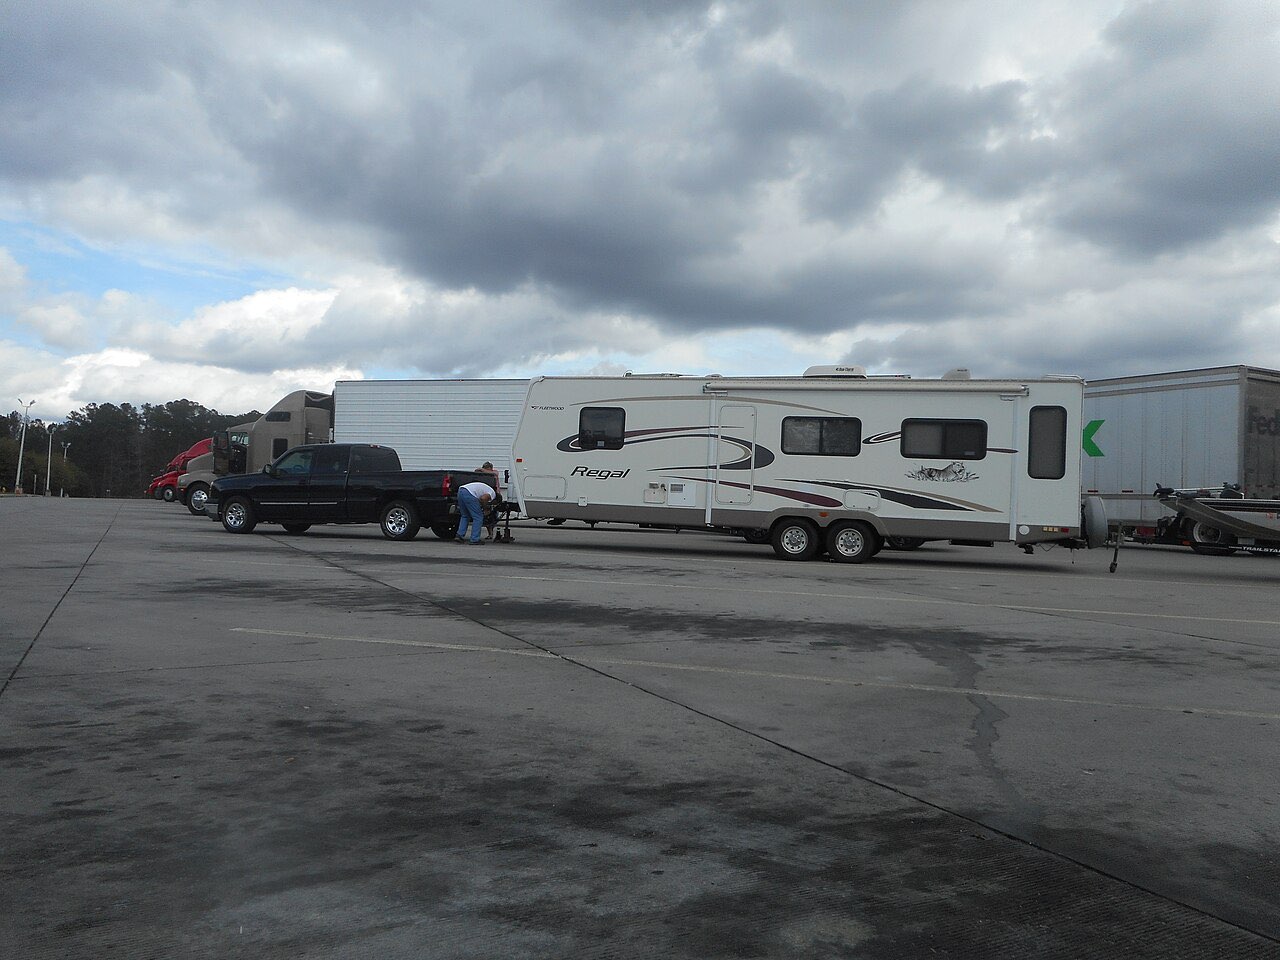
For trailers and fifth wheels, this is where the checklist earns its keep, because every step depends on the one before and a missed step is not “slightly wrong” but a trailer on the road behind you.
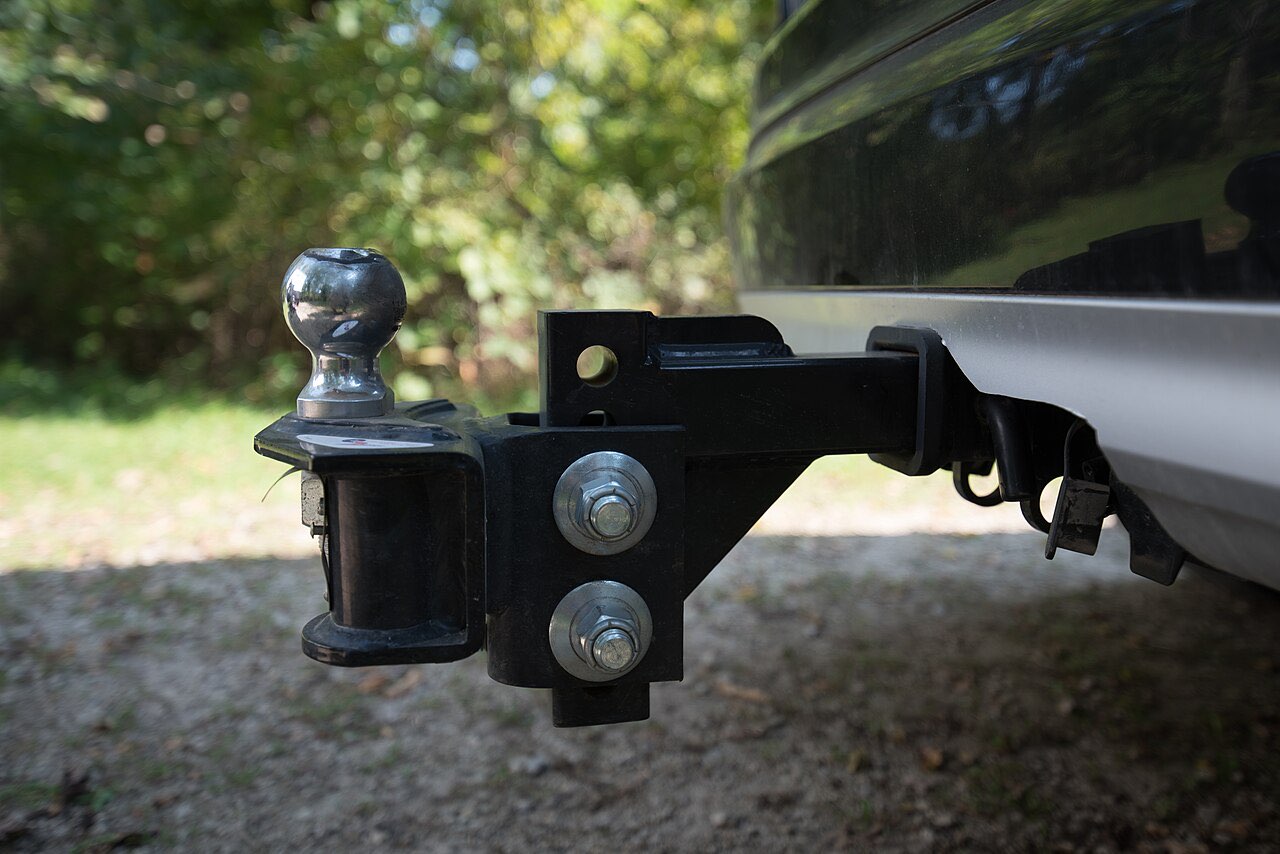
- Couple. Trailer coupler lowered onto the ball (or king pin into the fifth-wheel jaws), latched, and the latch pinned or locked. Then the tug test: with the truck in drive and the trailer brakes applied by the controller’s manual lever, pull forward gently. If the coupler lifts, it was never latched.
- Chains crossed under the coupler, clipped to the truck, with enough slack to turn.
- Breakaway cable clipped to the tow vehicle, not the chains, not the hitch. The cable pulls a pin that applies the trailer’s electric brakes from its own battery if the trailer separates. The federal rule for commercial trailers, 49 CFR 393.43, requires brakes to apply automatically on breakaway and stay applied for at least 15 minutes; state law covers private trailers, and most states require brakes and a breakaway system above a threshold that is commonly 3,000 lb but varies, so check your own state’s code. A breakaway cable only works if the trailer battery is charged, which is why “trailer battery charged” is on the list too.
- Weight-distribution bars on and tensioned, if fitted; tongue weight explains why a trailer that was fine without them in the driveway is not fine on the interstate.
- Seven-pin plug connected, then lights: running, left, right, brake, with a helper or against a reflective surface.
- Brake controller test: squeeze the manual lever at walking speed and feel the trailer brakes grab.
- Tongue jack fully up and its foot pad collected. Chocks out last, after everything above.
Motorhomes have a shorter version: mirrors, seat and seatbelt, the dash camera, the tow car’s transmission in its flat-tow mode and its own breakaway and lights checked, and the entry step up (many coaches interlock it with the ignition, many do not).
The propane decision
Whether to travel with the propane on is the one item on the list where the answer is “decide”, because there is no national rule. The arguments for leaving it on: the absorption fridge keeps running, and the furnace works at lunch stops. The arguments against: an open pilot flame and a pressurized gas line at every fuel stop, and in a crash. Two places have made the decision for you. The Maryland Transportation Authority prohibits vehicles carrying bottled propane over 10 pounds per container (maximum 10 containers) from the Fort McHenry Tunnel on I-95 and the Baltimore Harbor Tunnel on I-895, “on or off”, and routes RVs around on the western I-695 (MDTA tunnel restrictions); a standard RV cylinder is 20 or 30 pounds, so this covers essentially every RV. The Chesapeake Bay Bridge-Tunnel’s compressed-gas regulations restrict LPG to two 60-pound cylinders or a combination of smaller cylinders within the same total (cbbt.com regulations), which most RVs are inside, and the facility inspects at the toll plaza. Other tunnels and ferries have their own rules; the route-planning step of the morning is where you find out, not the toll booth. Whatever you decide for the road, turn it off at the fuel pump.
Phase 5, pull forward and look back
Drive fifty feet, stop, and walk back to the site. This catches the blocks and chocks you forgot, the water cap on the picnic table, and the thing on the roof you could not see from the ground. Then, a mile or two on, a second stop somewhere safe to re-check the hitch, chains and plug after the first bumps have settled them, and to feel each trailer hub for heat if you are worried about a bearing or a dragging brake.
Arrival: why it is its own list
The arrival list is short but ordered, and the order is what saves re-hitching. Before you park: walk the site and look up for branches and down for the slope, find the pedestal, water and sewer, and decide which way the rig faces so the hoses reach. Check the posted rules: generator hours, stay limits, quiet hours. On public land the limits are real; BLM’s dispersed-camping rule is 14 days in any 28-day period, and the boondocking guide covers what else to know. Position and level next, in the sequence how to level an RV sets out: side to side while hitched, chock, unhitch, front to back, stabilizers, slides. Utilities last, and electrical starts with the pedestal breaker off and the surge protector reading the pedestal clean before the rig is connected; then water with a pressure regulator; then sewer, with the black valve kept closed until the tank is mostly full.
Travel-day gear
As an Amazon Associate we earn from qualifying purchases.
- MaxxHaul solid rubber wheel chocks, 2 pack: Chocks for hitching, unhitching and arrival.
 $15.99Price as of November 16, 2026, 10:00 AM ET. Prices and availability are accurate as of the date/time indicated and are subject to change. Any price and availability information displayed on Amazon.com at the time of purchase will apply to the purchase of this product.
- Tymate TM7 RV tire pressure monitoring system: Monitors pressure through the whole drive.
 $39.99Price as of November 16, 2026, 10:00 AM ET. Prices and availability are accurate as of the date/time indicated and are subject to change. Any price and availability information displayed on Amazon.com at the time of purchase will apply to the purchase of this product.
- Master Lock 379ATPY trailer coupler lock: Locks the coupler at a fuel stop or overnight.
 $35.99Price as of November 16, 2026, 10:00 AM ET. Prices and availability are accurate as of the date/time indicated and are subject to change. Any price and availability information displayed on Amazon.com at the time of purchase will apply to the purchase of this product.
Adapting the list to your rig
The tool’s list is generic by design. Add a line for anything on your RV that has caught you once: the satellite dish that needs its own stow command, the slide topper that collects water, the tow car’s steering lock, the cat. Delete the lines that do not apply rather than skipping them, because a list you habitually skip parts of is a list you stop reading. Keep the printed copy on the door, not in a drawer. If this is your first season, the first RV trip planning guide covers the week before travel day; this list covers the hour.
Tunnel rules, tire guidance and the breakaway regulation above are as published on 28 October 2026. Check the facility’s own page before a route that includes a tunnel or ferry, and your state’s vehicle code for trailer brake and breakaway requirements.
Frequently asked questions
What is the most commonly forgotten item on an RV departure checklist?
Something on the roof or the ground: the TV antenna, a rooftop vent, the entry step, a stabilizer jack, or the chock still wedged under a leveler. None of them are on the dashboard, which is why the checklist ends with a slow walk-around after everything else is done and a pull-forward stop fifty feet down the road to look back at the site.
Should I check tire pressure every travel morning?
Yes, cold, before the RV moves more than a mile. Goodyear's RV tire care guide lists every morning on long trips and before leaving on short ones, and notes that a hot tire can read 10 to 15 psi higher than cold, so a reading after an hour of driving tells you nothing. A tire-pressure monitoring system gives you the reading while you roll, but it cannot replace the cold check for setting pressure.
Do I have to turn the propane off while driving?
There is no single national rule; it is your decision, with two hard exceptions. Maryland bars any vehicle with propane containers over 10 pounds each from the Fort McHenry (I-95) and Baltimore Harbor (I-895) tunnels, on or off, and the Chesapeake Bay Bridge-Tunnel limits LPG to two 60-pound cylinders or an equivalent combination. Running the absorption fridge on propane while towing is common practice but means an open flame and live gas line at every fuel stop; most owners turn it off at the pump at minimum.
What does the breakaway cable actually do?
It pulls a pin from a switch on the trailer tongue if the trailer separates from the hitch, which applies the trailer's electric brakes from the trailer's own battery. The federal rule for commercial trailers, 49 CFR 393.43, requires brakes to apply automatically on breakaway and hold for at least 15 minutes; most states require the same on private trailers above a weight threshold that is commonly 3,000 lb but varies, so check your state. The cable must be clipped to the tow vehicle, not to the safety chains or the hitch, with enough slack to turn but not enough to drag.
Why is the arrival checklist separate from the setup?
Because the first ten minutes at a site are about not damaging anything: reading the site for slope, overhead branches and where the pedestal and sewer are, before the rig is positioned and unhitched. Level, chock and unhitch come next, and utilities last, after the pedestal has been tested. Doing it in that order means you never have to re-hitch to move eight feet.
Keep planning
- Holiday RV Trips: Thanksgiving and Christmas on the Road
Holiday RV trips at Thanksgiving and Christmas: where campgrounds stay open, booking windows, winter routes and chain laws, propane math, and powering decorations.
Updated Oct 2026 - Black Friday RV Campground Membership and Gear Deals 2026
What to look for in RV campground memberships and outdoor gear Black Friday deals in 2026, including Thousand Trails, KOA and Harvest Hosts.
Updated Nov 2026 - Boondocking for Beginners: Rules, Water and Power
Boondocking for beginners: BLM and Forest Service dispersed camping rules, 14-day limits, Motor Vehicle Use Maps, Leave No Trace, water and power budgets.
Updated Nov 2026