How to Winterize an RV: Antifreeze vs Air, Step by Step
In this guide
- Air or antifreeze: decide first
- Supplies
- Step 1: Level the RV and drain everything
- Step 2: Drain and bypass the water heater
- Step 3A: The compressed air method
- Step 3B: The antifreeze method
- Step 4: The things the water procedure forgets
- Step 5: Batteries
- Step 6: Closing up
- Spring: de-winterizing in short
- Mistakes that cost money
Winterizing an RV means getting every drop of water out of the plumbing, or replacing it with non-toxic RV antifreeze, before the first hard freeze. The job takes an hour or two the first time, costs $30 to $80 in supplies, and prevents the most common winter repair bill there is: a split water line, a cracked pump head or a ruptured water heater tank discovered in April. A dealer will do it for roughly $75 to $150, as of Camping World’s August 2026 service pricing.
This guide follows the procedure that appears, with minor differences, in the Jayco, Forest River and Winnebago owner’s manuals, plus the water heater maker’s own instructions. The order matters: level, drain, bypass the heater, then air or antifreeze, then traps and toilet, then batteries. Your manual has a drain-valve location chart for your floor plan; find it before you start, because low-point drains hide in different places on every model.
Disclosure: As an Amazon Associate I earn from qualifying purchases. Some brands linked below pay a bonus commission through Amazon Creator Connections. See /disclosure/.
Air or antifreeze: decide first
| Compressed air | RV antifreeze | Both (air first, then antifreeze) | |
|---|---|---|---|
| Protection | Only what the air reached; water can pool in sags and check valves | Every line the pink reaches, plus traps and toilet | Belt and suspenders |
| Supplies | Blow-out plug (city water inlet), regulated compressor | 2 to 4 gallons, siphon hose or winterizing valve, or a hand pump | Both |
| Spring work | Sanitize, fill, go | Flush until clear, then sanitize | Flush and sanitize |
| Best for | Mild winters, rigs stored heated, owners who hate pink water | Hard-freeze climates, complex plumbing (washers, ice makers, outdoor kitchens) | Anyone storing outdoors north of the frost line |
Jayco’s manual states RV antifreeze is the preferred method. Winnebago’s and Forest River’s present the two as alternatives and set the water heater bypass differently for each, which is where owners get into trouble (more below). The honest answer is that air alone fails more often than antifreeze alone, because air cannot empty a low spot in a sagging PEX run, while antifreeze displaces whatever is there. If you use air, pour antifreeze into the traps and toilet anyway.
Whatever you choose, use only RV/marine antifreeze labeled for potable water systems, typically propylene glycol rated for burst protection to -50°F. Jayco’s manual puts it in capitals: use ONLY RV antifreeze; never automotive or windshield-washer antifreeze, which are toxic in a drinking-water system. Note that -50°F is burst protection, not freeze protection; a correctly winterized system will show slush at around +10°F, which is normal and harmless.
Supplies
- RV antifreeze, 2 to 4 gallons for most rigs ($4 to $8 a gallon). One gallon is enough for a small Class C like the Jayco Swift according to its manual; a 35-foot Class A guide calls for four.
- Blow-out plug that threads onto the city water inlet, with a tire-style air chuck (a few dollars).
- A compressor with a regulator you can set to 30 psi. Pancake compressors are fine; it is pressure, not volume, that matters.
- A siphon hose if your rig has a winterizing valve on the pump, or a hand pump kit that connects to the city water inlet if it does not.
- Water heater: a 1-1/16-inch socket for a Suburban anode rod, or the plastic plug wrench for an Atwood/Dometic drain plug. A new anode if the old one is below about half its original thickness (Suburban recommends replacing it yearly).
- Your owner’s manual, open to the drain-valve chart.
Step 1: Level the RV and drain everything
Winnebago’s manuals start with leveling, because an unlevel coach leaves water trapped in low points of the lines that will not drain. Level it, then:
- Turn the water heater off at the switch inside and, on propane models, close the gas valve. Let it cool for several hours. Forest River owners note that draining a hot heater without lifting the pressure-relief valve first can scald you.
- Open the fresh water tank drain and let the tank empty.
- Open every faucet, hot and cold, including the shower, outdoor shower and outdoor kitchen. Flush the toilet and hold it open. Turn the pump on for a few seconds to push water out, then off; Jayco’s manual limits dry running to 15 to 20 seconds, because the pump cools itself with water.
- Open the low-point drains (usually two, one red for hot and one blue for cold, under the belly or in a utility bay) and let the lines empty.
- Dump and rinse the black and grey tanks at a dump station on the way home; the dump station guide covers the sequence. Leave a little antifreeze in each tank at the end so the valve seals stay wet.
- Remove the water filter cartridge if you have one and store it or throw it out. Jayco’s manual has you take out the filter before either method and reinstall it in spring.
Step 2: Drain and bypass the water heater
This is the step people skip and the one that costs the most. A 6-gallon tank of water in a heater will crack the tank when it freezes, and antifreeze in the heater ruins the anode. Suburban’s own instruction is to use the bypass kit to close the heater off, drain it completely and leave it out of the system, particularly if you are introducing antifreeze.
- Confirm the heater is cool and the power and gas are off.
- Set the bypass valve or valves to bypass. On most rigs these are behind an access panel inside, directly behind the heater; one-, two- and three-valve layouts exist, and the manual’s diagram shows yours. Do this before opening the low-point drains if you can, because once the lines are open, sediment from the bottom of the tank can drain back into them.
- Lift the pressure-relief lever on the outside of the heater to break the vacuum.
- Remove the anode rod (Suburban) or drain plug (Atwood/Dometic) and let the tank empty. Expect a rush of calcium flakes. Flushing the tank with a wand on a garden hose is worth doing now.
- Inspect the anode. Replace it if it is heavily pitted or thin.
- Leave the plug or anode out for the winter if you store the rig where you will remember it, or reinstall it loosely with a note on the panel. Suburban’s instruction for rigs without a bypass kit is to remove the anode, store it indoors and fit a 3/4-inch drain plug for the winter.
Now the bypass position matters for which method you use. Jayco and Winnebago manuals say the bypass stays in normal for the air method so air flows through the heater lines, and goes to bypass only when antifreeze is in play. Forest River’s Forester manual says bypass for both. Follow your own manual; the goal is the same, no water in the heater and no antifreeze in it.
Step 3A: The compressed air method
- Close the low-point drains and the fresh tank drain so air goes through the lines, not out the bottom.
- Thread the blow-out plug onto the city water inlet. Set the regulator to 30 psi maximum. Jayco’s manual says exceeding it may rupture couplings and void the warranty; Forest River’s says no greater than 30 pounds. Winnebago’s Forza manual gives the same cap and warns against sudden bursts, which can damage the pump; let the air in gradually.
- Never pressurize the system with every outlet closed. Jayco is explicit that air against a closed valve, faucet or low-point drain damages seals.
- With air on, open one faucet at a time, cold then hot, starting nearest the inlet and working to the farthest. Hold each open until it spits only air for 20 to 30 seconds. Do the shower, outdoor shower, outdoor kitchen, toilet (hold the flush), washer hookups and ice maker line.
- Open the low-point drains briefly with air on to clear them, then close.
- Run the pump for a few seconds with a faucet open to clear its head, then off.
- Disconnect the air. Open all faucets and low-point drains and leave them open for the winter.
- Pour a cup of RV antifreeze into each sink and shower P-trap and a quart into the toilet bowl so the seal stays wet. Jayco specifies one cup per trap.
Air alone does not protect the toilet valve, the pump check valve, or a city-water inlet check valve that holds water behind it. Many owners follow air with a quick antifreeze pass for that reason.
Step 3B: The antifreeze method
- Water heater in bypass. Fresh tank drain and low-point drains closed. Jayco’s manual notes the low-point drains must be closed or the antifreeze will not siphon through the lines. Fresh water tank shutoff valve closed, so antifreeze stays out of the tank.
- Feed antifreeze to the pump. On rigs with a winterizing valve, turn it toward the siphon hose and drop the hose into the jug. On rigs without one, disconnect the pump inlet and attach a siphon hose, or use a hand pump at the city water inlet. Forest River’s Forester manual offers a third route: pour antifreeze into the fresh tank above the pump’s minimum pickup level and run the pump normally. That works but uses more antifreeze and leaves pink in the tank to flush in spring.
- Turn the pump on. Open the cold side of the nearest faucet until it runs solid pink, then the hot side. Repeat at every fixture, nearest to farthest: kitchen, bath sink, shower, outdoor shower, outdoor kitchen, washer, ice maker.
- Flush the toilet until the bowl runs pink, and hold the flush for a few seconds so the valve is full.
- Press the city water inlet’s check valve with a small screwdriver until pink shows; this is the one place air and antifreeze both tend to miss.
- Turn the pump off. Pour antifreeze into each P-trap and leave some in the toilet bowl.
- Wipe pink residue out of sinks, tub and bowl with a dry cloth; Jayco warns it can stain.
Count the jugs. If you used far less than expected on a big rig, something did not get reached.
Step 4: The things the water procedure forgets
- Washing machine and dishwasher. Each has its own winterize procedure in its manual; most need antifreeze pumped through on a short cycle.
- Ice maker and residential refrigerator water line. Disconnect the supply at the fridge and blow or pump antifreeze through, or shut the valve and drain the line.
- Black tank flush. It has a check valve; put air or antifreeze through the inlet.
- Outdoor shower and outdoor kitchen faucet. Both are on the exterior wall and freeze first.
- Water filter housings. Empty them; a full canister cracks.
- Macerator pumps and tankless water heaters. Follow the unit’s own procedure. Tankless units usually have drain plugs that must come out, and some are damaged by antifreeze.
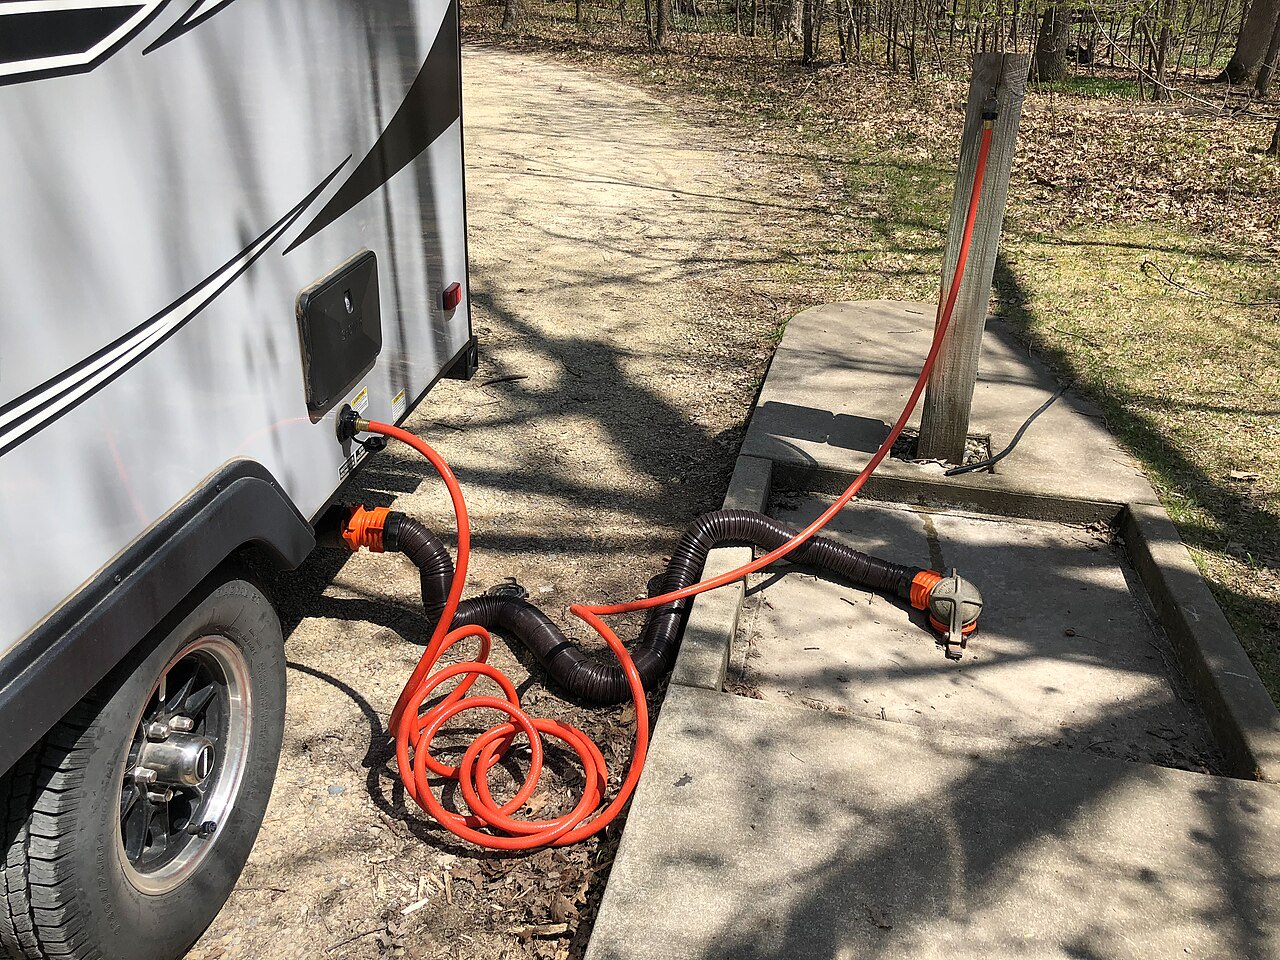
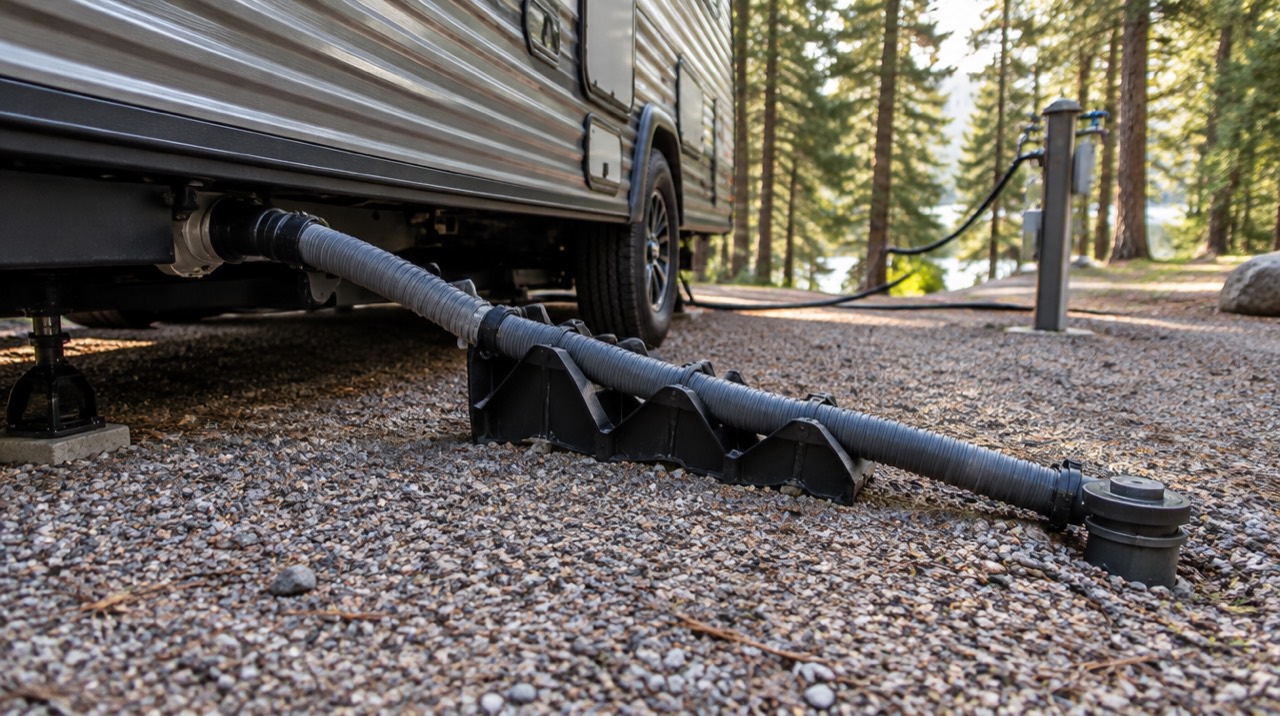
- Hoses. Drain the fresh hose and the sewer hose and store them inside.
Step 5: Batteries
A discharged lead-acid battery freezes; a charged one does not. Trojan’s deep-cycle storage guide puts the freezing point of a fully charged flooded battery near -92°F and a 40 percent charged one near +5°F, and says freezing usually means irreparable plate and case damage. So:
- Lead-acid (flooded or AGM): charge fully, disconnect the negative cable or pull the battery and store it on a shelf, and top the charge monthly or keep it on a maintainer. Trojan notes self-discharge slows in the cold, which is why a charged battery left in a cold compartment, disconnected, usually survives the winter; the same battery left connected to the propane detector and clock will not.
- Lithium (LiFePO4): Battle Born’s winterizing FAQ says to store them fully charged, above freezing if possible, and never to leave one fully drained, which it says voids the warranty; its stated storage range is -15°F to 140°F. Switch the battery disconnect off and leave it. No maintainer is needed.
- Solar: if panels stay connected through a controller that will not overcharge, lead-acid batteries can stay in the rig. If you are unsure what your controller does on a 10°F morning, pull the battery. The RV solar basics guide covers controller types.
Step 6: Closing up
Propane off at the tank. Fridge emptied, propped open, a box of baking soda inside. Food and liquids out (canned goods burst). Vents cracked under covers for airflow. Tires at the sidewall maximum pressure, covered, and moved a few inches once or twice over the winter if you can; the RV tire guide explains why flat-spotting and ozone cracking are winter problems. Roof and seams inspected now rather than in spring, because a leak that runs all winter is a wall replacement. A full cover is optional; a roof that drains is not. If you store indoors or in a lot, the RV storage cost guide compares the options.
Spring: de-winterizing in short
- Close the low-point drains and faucets, reinstall the heater’s anode or plug with fresh thread tape, and set the bypass back to normal.
- Fill the fresh tank, open the tank shutoff (Jayco’s manual flags this as the step people forget), run every faucet until clear, then flush the toilet several times.
- Sanitize: Forest River’s manual says to flush and sanitize before use, and most manuals specify a quarter cup of household bleach per 15 gallons of tank capacity, left to sit for hours, then flushed twice. Use your manual’s ratio.
- Fill the water heater and purge air at a hot tap before turning it on; Suburban’s instruction is to refill and remove all air from the tank and lines before lighting or applying power. An element run dry burns out in minutes.
- Reinstall the water filter, pressurize with city water and check every fitting for drips.
Camping World’s blog prices the dealer version of this at $50 to $100.
Mistakes that cost money
| Mistake | What it breaks | Avoid it by |
|---|---|---|
| Antifreeze in the water heater | Anode and tank sediment; wasted antifreeze | Bypass first, confirm the heater is empty |
| Compressor at tank pressure (90 to 120 psi) | Fittings, pump, toilet valve | Regulator at 30 psi or below |
| Air on with everything closed | Seals and check valves | Open a faucet before the air |
| Skipping the city inlet check valve | A cracked inlet behind the wall | Press it until pink shows |
| Forgetting the outdoor shower | Split lines in the exterior wall | Walk the outside of the rig with the list |
| Battery left connected | Dead and frozen battery | Disconnect switch off or cable pulled |
| “It never freezes here” | One night does it | Winterize when the forecast shows a hard freeze, or heat the rig |
Gear worth a look (affiliate links)
A heated hose is not a substitute for winterizing: it protects one hose, and only while it is plugged in. If you plan to keep camping in freezing weather with water in the system instead of storing the rig, the Kohree 15 ft heated RV drinking water hose is, per the listing, NSF 372 drinking-water rated with freeze protection to -40°F and a thermostat, for hookup sites with shore power. The cold-weather camping guide covers the rest of that setup. For a rig going into storage, follow the steps above. $59.99Price as of November 16, 2026, 10:00 AM ET. Prices and availability are accurate as of the date/time indicated and are subject to change. Any price and availability information displayed on Amazon.com at the time of purchase will apply to the purchase of this product.
Prices, pressures and procedures above were read from the Jayco Swift and Forest River Forester owner’s manuals (via manual mirrors), Suburban water heater manuals, Battle Born’s and Trojan’s storage guidance and Camping World’s service blog on October 28, 2026. Your own manual’s drain-valve chart and your water heater’s label override anything here. If you are deciding whether to pay for the service or buy the kit, the first-year supply cost is close to a single dealer visit, which the first-year ownership costs guide counts among the items the dealer does not mention.
Frequently asked questions
Antifreeze or compressed air: which is the right way to winterize an RV?
Both are in the manufacturers' manuals, and both work if done completely. Jayco's manual calls RV antifreeze the preferred method; Winnebago and Forest River manuals describe the two as alternatives. Antifreeze protects any pocket of water you missed, air leaves nothing to flush out in spring. Most owners who store in a hard-freeze climate use antifreeze or both; owners in mild climates often use air alone.
How much RV antifreeze do I need?
Camping World's service blog says most RVs need 2 to 4 gallons. Jayco's manual for its small Swift Class C says one gallon is enough for that coach; a 35-foot Class A owner guide posted by Forest River owners calls for four. Buy one more gallon than you think you need; a partial bottle keeps for next year.
Can I put RV antifreeze in the water heater?
No. Every manufacturer procedure drains the heater and bypasses it. Suburban's manuals add that antifreeze is corrosive to the anode rod and creates heavy sediment in the tank; if your plumbing has no bypass kit, Suburban says to remove the anode, store it for the winter and fit a 3/4-inch drain plug.
What air pressure is safe for blowing out RV water lines?
The Jayco and Forest River manuals we read both cap it at 30 psi, and Jayco warns that exceeding it can rupture line couplings and void the warranty. Use a regulator, not the compressor's tank pressure, and never apply air with every outlet closed.
What does it cost to have a dealer winterize an RV?
As of its August 2026 post, Camping World's service blog puts a basic blow-out at $75 to $100 and a complete antifreeze package at $125 to $150, with de-winterizing in spring at $50 to $100. Doing it yourself costs $30 to $80 the first year including a blow-out plug and antifreeze, and $20 to $30 a year after that for antifreeze alone.
Do I need to winterize if I use the RV in winter?
If the rig is heated and the water system is in use, the furnace and tank heaters (if fitted) keep most lines above freezing, but exposed low-point drains, the city water inlet and a hose left connected will still freeze. Many owners who camp below freezing travel with the water system winterized and carry jugs. If the RV sits unheated for even one hard-freeze night with water in it, winterize.
Keep planning
- How to Use an RV Dump Station Step by Step
How to use an RV dump station: black-then-gray order, hose setup, rinsing, chemicals, where to find free stations, typical fees and what never goes down the drain.
Updated Nov 2026 - RV Sewer Hose Setup: Length, Supports and Fittings
RV sewer hose setup explained: what length to carry, the clear elbow and 4-in-1 adapter, hose supports for a steady downhill run, valve habits and clean storage.
Updated Nov 2026 - RV Gear and Upgrades: Measure Before You Order
Fit guide for RV steps, bunk ladders, windows, shades, hose tubes, tote carriers and vents. Sizes come from the Amazon listings, including where a listing disagrees.
Updated Nov 2026