RV Sewer Hose Setup: Length, Supports and Fittings
In this guide
A good RV sewer hose setup is four parts and one habit: a 20-foot hose in two 10-foot sections, a clear elbow with a threaded adapter at the ground inlet, a support that keeps the hose sloping downhill the whole way, and a pair of nitrile gloves; then keep the black valve closed until the tank is about three-quarters full. Every smell, clog and spill story in RV forums traces back to one of those being skipped.
This guide covers the setup at a full-hookup site and at a dump station, the parts and what each one is for, how to store the hose, and the specific products worth buying. The procedure follows the plumbing section of a Jayco owner’s manual and the City of Carpinteria’s RV dumping guide, read in October 2026. Your own manual governs valve locations and any tank-flush fittings. For the dump-station procedure step by step, see our RV dump station guide; this page is about the hose itself.
The parts and what each one does
| Part | Job | What to look for |
|---|---|---|
| Sewer hose, 3 in. diameter | Carries tank contents from the RV outlet to the inlet | Two 10 ft sections rather than one 20 ft; fittings attached at the factory; a wall that holds its shape when bent |
| Bayonet fitting (RV end) | Locks onto the RV’s 3 in. outlet with a quarter turn | Swiveling fitting so the hose does not twist; intact rubber gasket |
| Clear elbow with 4-in-1 adapter (ground end) | Seals into the site sewer and shows when flow runs clean | Adapter that fits 3 in. slip and 3, 3-1/2 and 4 in. threaded pipe |
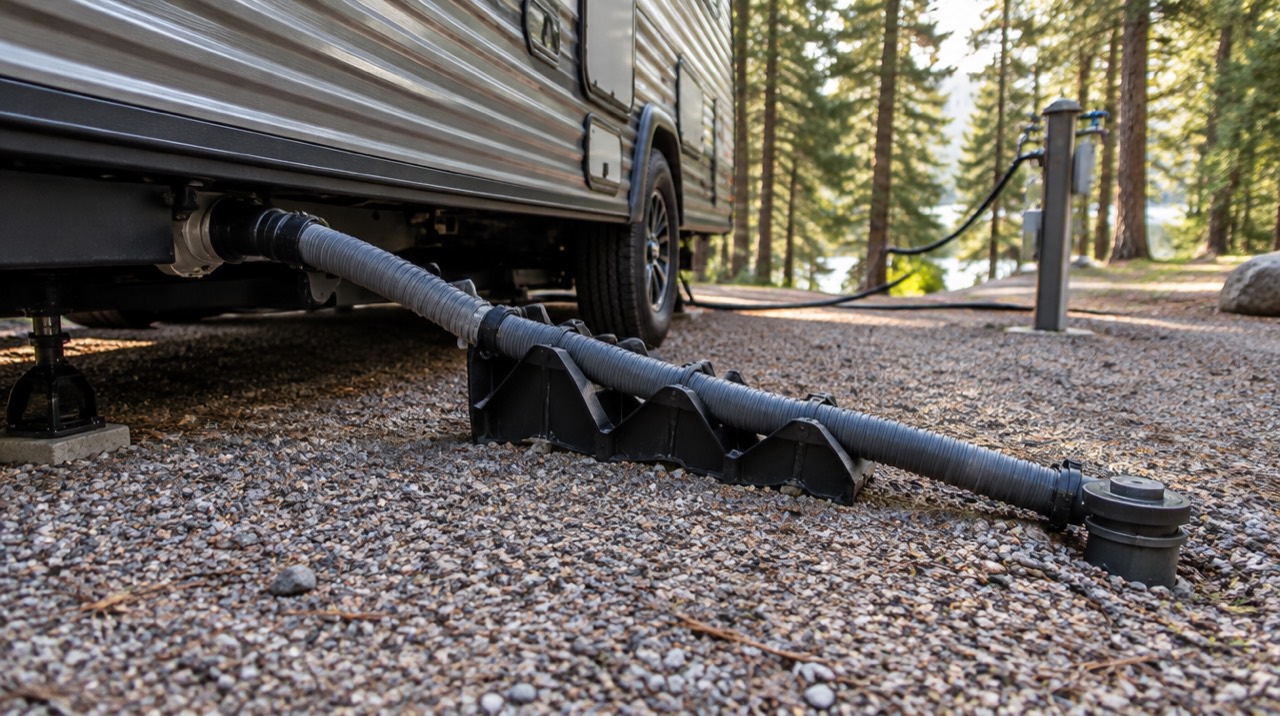
| Hose support (cradle) | Holds a continuous downhill run | Length that matches your hose; cradles deep enough to hold the hose without straps |
| Storage caps | Seal both ends of each section | Usually included in kits; keep them, they are what keeps the bumper clean |
| Nitrile gloves | Everything on this side of the RV is contaminated | Disposable, kept with the hose, not in the kitchen |
| Dedicated rinse hose | Rinsing the sewer hose and flushing tanks | A different color from the drinking-water hose, stored separately |
The RV end of the system is standardized: a 3-inch outlet with a bayonet ring under a dust cap. Jayco’s manual describes the hose as customer-supplied, which is the norm. A few RVs have a macerator pump instead, which uses a 1-1/2-inch hose and, in Jayco’s description, can push waste up to 150 feet, including uphill. If you have one, follow the pump maker’s manual; the rest of this page assumes a gravity system.
How long a hose you need
Most owners settle on 20 feet as two 10-foot sections. The reason for two sections is practical rather than about reach: a single long hose on a site where the inlet is 6 feet away leaves 14 feet of coils lying on the ground, and coils are where liquid pools. Two sections let you connect only what the site needs.
Carry one more 10-foot section if your trailer is long or you stay at older parks. The distance from the outlet to the inlet depends on where the outlet sits on your RV and where the park put the pipe, and no standard governs it. Jayco’s manual suggests asking your dealer about a sewer hose extension if you need one. If you find yourself stretching the hose taut to reach, add a section rather than pulling the RV back; a hose under tension pulls out of the inlet the moment the black valve opens.
Full-hookup setup, step by step
- Level the RV first. Jayco’s dumping steps begin with leveling, because a tank tilted away from its outlet does not drain fully. Our how to level an RV guide has the method.
- Gloves on. Put them on before you touch the dust cap and keep them on until the hose is stowed.
- Check both valves are closed. Open the RV’s dust cap slowly over the gravel; a leaking valve shows up here, not after you connect.
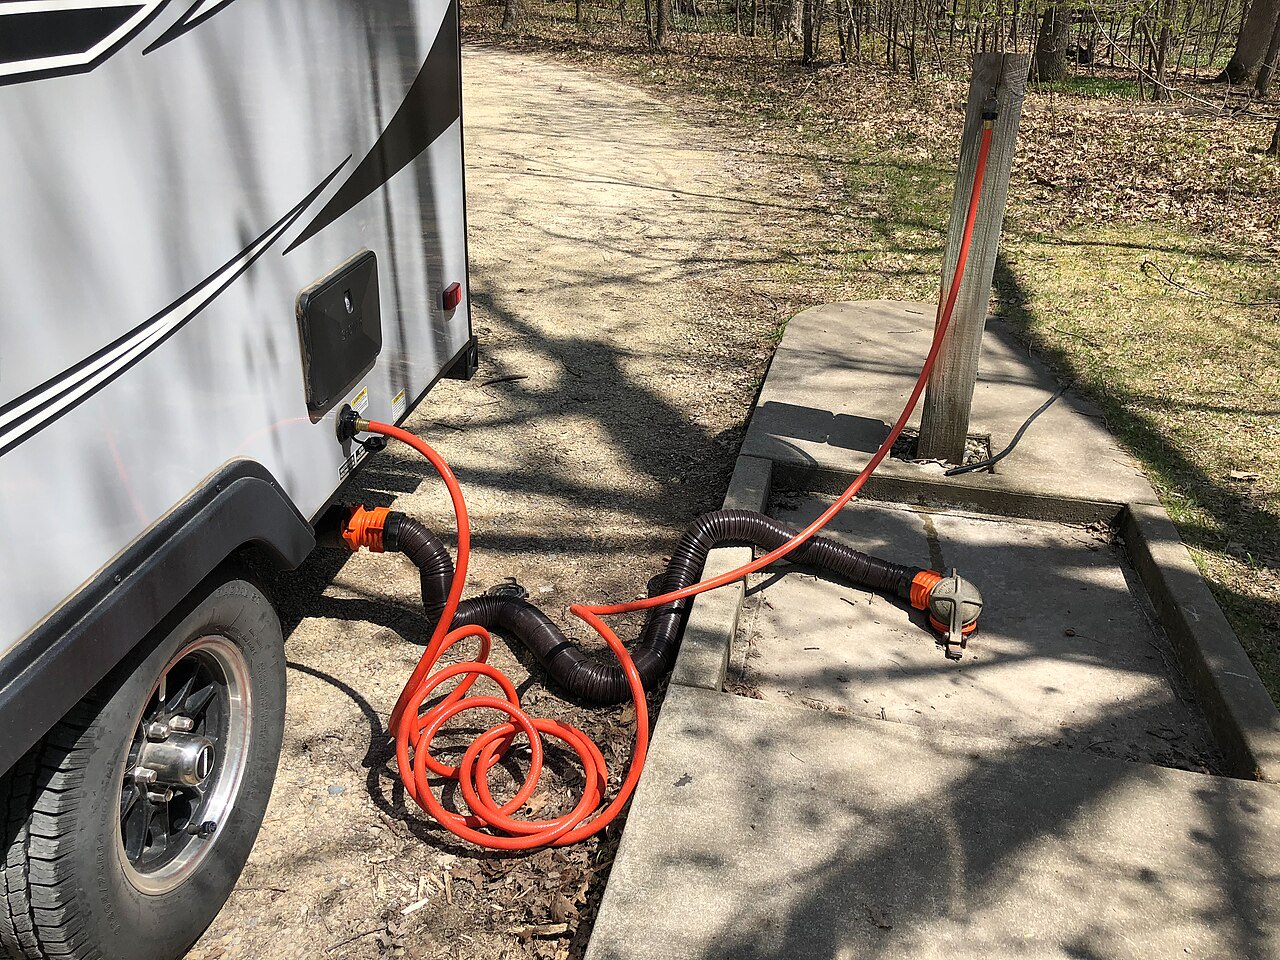
- Connect the RV end. Push the bayonet fitting onto the outlet and turn until it locks. Tug it.
- Lay out the support. Set the cradle from the outlet toward the inlet, highest at the RV end. If the ground rises toward the inlet, put the high end of the support at the RV and shorten its run, or raise the RV end with a block under the support. The hose must never climb.
- Seat the ground end. Thread the elbow’s adapter into the sewer pipe, or push it into a slip fitting. Some parks require a threaded or rubber seal at the inlet; read the site card. Put a weight on the elbow if the fit is loose.
- Lay the hose in the cradles with no slack loops and no sags between the support’s ends.
- Leave the black valve closed. Jayco’s manual says to keep it closed until the tank is at least three-quarters full and never to leave it open continuously on a campground sewer. When it is time, open black first, then gray, so the gray water rinses the hose. Close both afterward.
The black-valve rule is the one most new owners break, because an open valve feels convenient. The liquid drains straight through and the solids stay in the tank with nothing to carry them out. Our black tank care guide explains the pyramid that results and how to clear one.
At a dump station
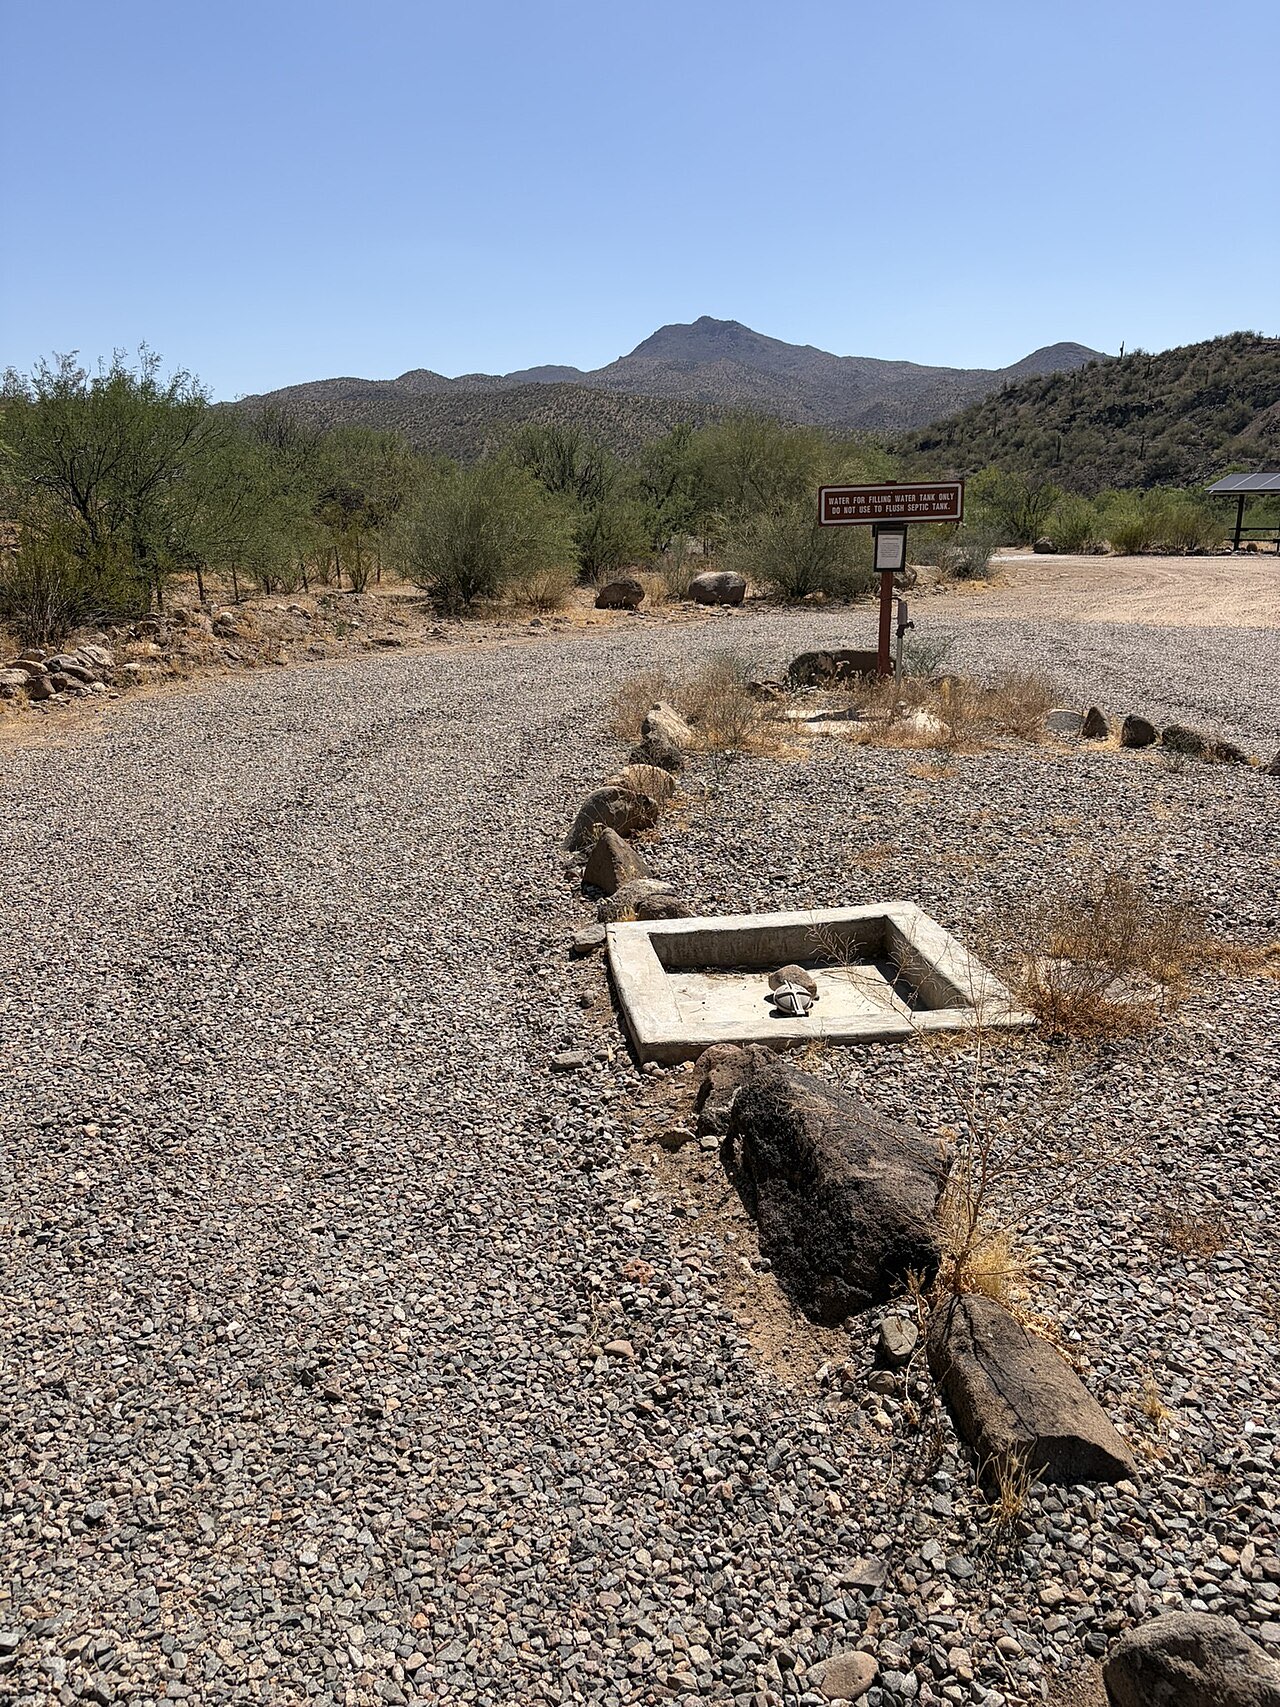
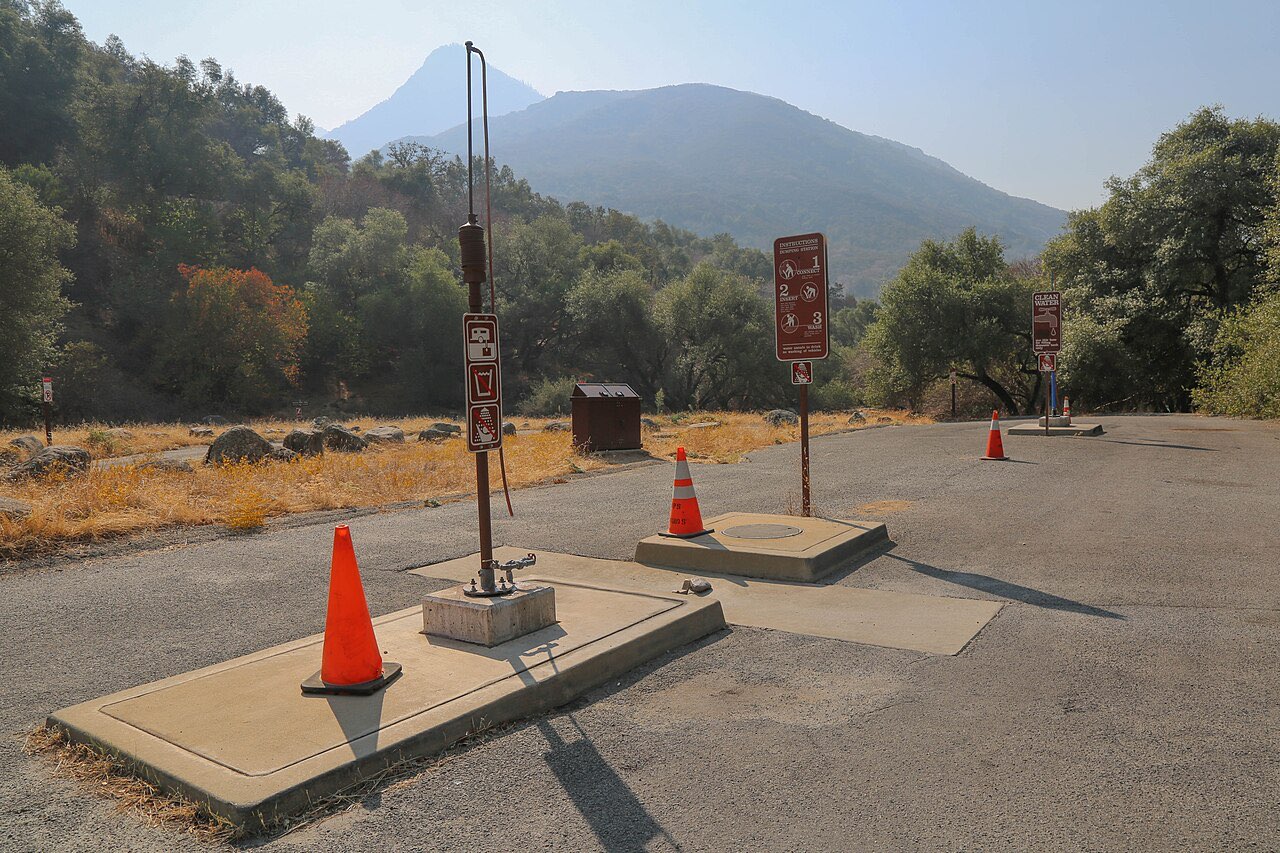
The same hose, used for ten minutes. The Carpinteria guide’s first rule is the one to memorize: both hose ends secure before any valve opens. Then black, then gray, watch the hose the whole time, and rinse with the station’s non-potable hose while the ground end is still in the drain. A support is optional when the drain is close and below the outlet. Do not leave the line to fill water or walk the dog while a tank is draining. Where a station shows up in the Forest Service dataset is listed in the dump station directory; the dump station guide covers the procedure.
Hygiene that actually matters
- Gloves for every connection and disconnection. Carpinteria’s guide lists gloves, absorbent and safety glasses as the spill kit.
- Two hoses, two colors, two bins. The drinking-water hose never goes near the sewer side. Our fresh water system guide explains why one hose per job is the rule.
- Rinse before you disconnect. Lift the hose from the RV end toward the inlet so the last liquid runs out, then rinse inside.
- Cap both ends before storage. Caps keep residue out of the bumper or bay.
- Wash your hands after the gloves come off, before you touch the door handle.
- Do not add bleach or caustic cleaners to clean the hose through the tank. Jayco warns that undiluted chlorine and caustic chemicals damage the seals in toilets and dump valves.
Storing the hose
Jayco’s manual describes two storage spots: an exterior compartment marked for the sewer hose, or the hollow square rear bumper, which has removable plastic end caps and takes the hose slid inside. Bumper storage keeps the hose out of every compartment you load food or gear into, which is its whole appeal. Two things to check: that your hose’s fittings fit through the bumper opening (on the common RhinoFLEX kit, the 4-in-1 adapter has to come off first, according to Camco’s listing), and that the bumper’s end caps are secure, because a lost cap on the highway means a lost hose. If the bumper is full or the fittings will not go in, an exterior storage tube is the other option. Diameters, length ranges and which elbows the tubes exclude are in the RV gear and upgrades guide.
Before a travel day, close both valves, disconnect, rinse, cap and stow. Jayco’s manual also says to dump before traveling when you can, because full tanks add weight that is not counted in your cargo capacity and can upset hitch weight if the tanks sit behind the axles. Our travel day checklist puts the hose in its place in the departure sequence.
When to replace the hose
Replace it at the first pinhole, split or cracked fitting, not after the first spill. Hoses wear where they rub on gravel and where the wire reinforcement flexes at the fittings. Run a gloved hand along the hose when you stow it and look at the fittings each time. A bayonet gasket that is flattened or missing is cheaper to replace than the cleanup it prevents. No maker we found publishes a service life in years, so condition is the only guide.
Mistakes to avoid
- Opening a valve before the ground end is secured. The force of a black tank lifts an unweighted elbow out of the inlet.
- Leaving the black valve open on hookups. Solids stay, liquid leaves, and sensors read full forever.
- One long hose with loops on the ground. Low spots hold waste and smell.
- A hose that climbs to the inlet. Gravity does not reverse; raise the RV end of the support or move the support.
- Using the drinking-water hose to rinse. Keep a separate rinse hose.
- Stretching the hose to reach. Add a section instead.
- Storing the hose uncapped in a compartment with other gear.
Gear that helps with this job
These are the parts we would buy for the setup above, in order of what matters most.
As an Amazon Associate we earn from qualifying purchases.
- For most people: the Camco RhinoFLEX 20 ft RV sewer hose kit. It is the two-section, clear-elbow layout described above in one box: two 10-foot hoses with attached swivel fittings, a clear elbow with a 4-in-1 adapter for 3-inch slip and 3, 3-1/2 and 4-inch threaded pipe, and storage caps. Camco says each section compresses to 39 inches with fittings and fits a 4-inch square bumper once the adapter is removed.
 $69.99Price as of November 16, 2026, 10:00 AM ET. Prices and availability are accurate as of the date/time indicated and are subject to change. Any price and availability information displayed on Amazon.com at the time of purchase will apply to the purchase of this product.
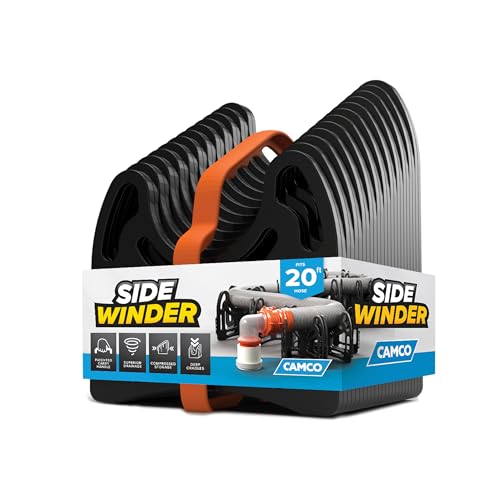
- For full-hookup stays and full-timers: the Camco Sidewinder 20 ft sewer hose support. It is sized for a 20-foot, 3-inch hose, holds the hose in its cradles without straps, and folds for storage. It is the piece that turns a hose on the ground into a line that drains.
 $59.99Price as of November 16, 2026, 10:00 AM ET. Prices and availability are accurate as of the date/time indicated and are subject to change. Any price and availability information displayed on Amazon.com at the time of purchase will apply to the purchase of this product.
Add a box of disposable nitrile gloves and a second, differently colored garden hose for rinsing, and the kit is complete. Prices and listings change, so check the current listing before you buy.
Procedures above follow Jayco’s owner’s manual and the Carpinteria dumping guide as read in October 2026; product details are from Camco’s own listings on the same date. Your RV’s manual governs valve locations, tank flush connections and any macerator system. If you are heading to a park campground, our sister site lists national park dump stations and their seasons.
Frequently asked questions
How long should an RV sewer hose be?
Carry 20 feet as two 10-foot sections, which lets you use one section when the inlet is close and both when it is not. Some sites put the sewer inlet farther from the outlet than 20 feet; a third 10-foot section in the bumper covers those without forcing you to park badly. A shorter run drains better, so connect only as many sections as the site needs.
Do I really need a sewer hose support?
On a full-hookup site where the hose stays connected for days, yes. A hose lying flat on the ground develops dips where liquid sits and solids settle, and the black tank then drains slowly. A support keeps a continuous downhill run from the RV outlet to the inlet. For a five-minute dump at a station with the drain directly below the outlet, you can do without one.
What is the clear elbow on an RV sewer hose for?
It shows you what is flowing. When you dump the black tank and then flush or rinse, the clear section tells you when the water runs clean, so you know the tank and hose are empty instead of guessing. Elbows on common kits also carry a threaded 4-in-1 adapter that fits the 3-inch slip and 3, 3-1/2 and 4-inch threaded sewer pipes found at campgrounds.
Should I leave the black tank valve open on a full-hookup site?
No. Jayco's owner's manual says to keep the black tank valve closed until the tank is at least three-quarters full and never to leave it open continuously on a campground sewer. Liquid runs out and the solids stay behind. The gray valve can be opened as needed, but most owners keep it closed too so there is gray water to rinse the hose after each black dump.
Where do you store an RV sewer hose?
Many trailers store it inside the hollow square rear bumper, which has removable end caps; others have a compartment marked for the sewer hose. Rinse the hose, cap both ends, and keep it away from the drinking-water hose and food. If your bumper is the storage spot, check that the hose's fittings fit through the tube; some adapters must be removed first.
Keep planning
- How to Use an RV Dump Station Step by Step
How to use an RV dump station: black-then-gray order, hose setup, rinsing, chemicals, where to find free stations, typical fees and what never goes down the drain.
Updated Nov 2026 - RV Gear and Upgrades: Measure Before You Order
Fit guide for RV steps, bunk ladders, windows, shades, hose tubes, tote carriers and vents. Sizes come from the Amazon listings, including where a listing disagrees.
Updated Nov 2026 - 30 Amp vs 50 Amp RV Hookups Explained
30 amp vs 50 amp RV service explained: 3,600 vs 12,000 watts, what runs at once, dogbone adapters, pedestal testing and the voltage limits an EMS enforces.
Updated Oct 2026