RV Water Pressure Regulator: Why You Need One and Which PSI
In this guide
Yes, you need a water pressure regulator every time you connect an RV to city water, and it should hold pressure at or below the figure in your owner’s manual, which for the makers we checked is 45 to 50 psi. Jayco’s owner’s manual recommends a 45 psi regulator on the city water connection; Winnebago’s editors recommend 50 psi maximum. Campground spigot pressure is unknown, varies through the day and can be high in mountain parks, and RV plumbing is plastic line and push fittings that were never built for household-plus pressure.
This guide explains why the regulator matters, what the manufacturer numbers are, fixed versus adjustable models, where to fit one, and which to buy. Figures come from the plumbing section of a Jayco owner’s manual, Winnebago’s water pressure regulator round-up, and the makers’ own product listings, all read in October 2026. Your RV’s manual is the final word on pressure.
Why RV plumbing needs protection
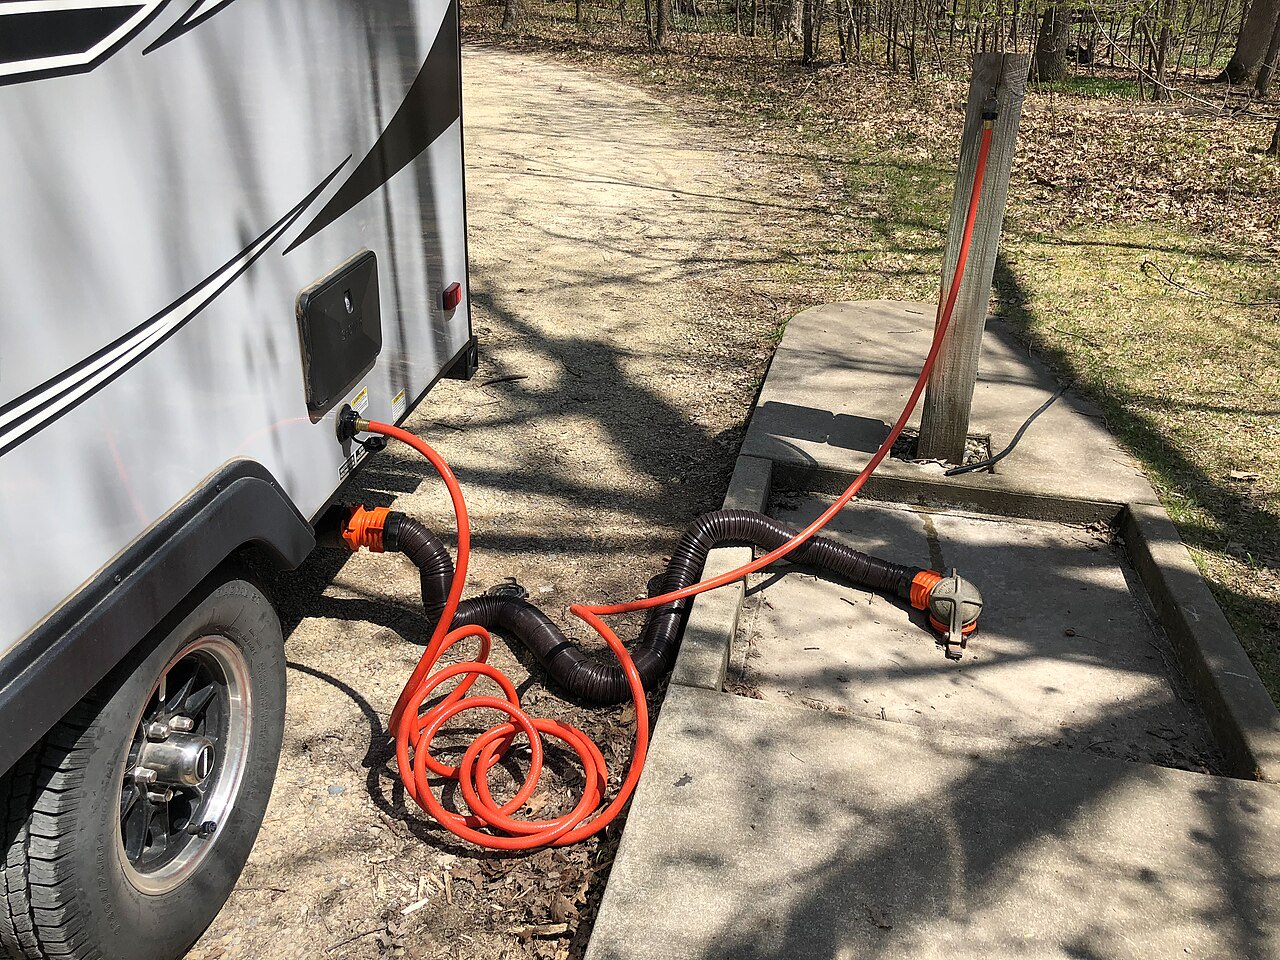
An RV has two ways of pressurizing its water lines. On tank water, the 12-volt pump does it: Jayco’s manual says its pump runs until the lines reach 45 psi and then cycles as you draw water. That number is a good picture of what the system was designed around. On city water, a hose from the campground spigot screws into the city water inlet and the RV’s lines see whatever pressure arrives at the spigot. The pump stays off and there is no control at all.
Campground water systems are built to deliver enough pressure to the farthest site on the loop, which means sites near the main can see more. Jayco’s manual says excessive pressure “may be encountered in some parks, especially in mountain regions,” both at the fresh water inlet and the black tank flush. Winnebago’s editors, testing regulators, measured 115 psi at an ordinary hose bib at their own headquarters with no regulator fitted. That was not a campground, and we found no official survey of campground pressures, but it shows how far an unregulated outdoor tap can sit above what an RV’s lines expect.
What high pressure breaks is rarely dramatic: a weeping push-fit connector behind the shower, a cracked toilet valve, a water heater relief valve that drips, a faucet cartridge that leaks. The damage is usually hidden inside a wall or under a floor, and it is found days later as a soft spot.
Which PSI: what the manufacturers say
| Source | Figure | What it says |
|---|---|---|
| Jayco owner’s manual (plumbing section) | 45 psi | “A 45 lb. (315 KPa) rated water pressure regulator is recommended” for the city water connection |
| Jayco owner’s manual (water pump) | 45 psi | The on-board pump runs until the lines reach 45 psi |
| Winnebago editors, regulator round-up | 50 psi maximum | Recommend regulators that control pressure to 50 psi max |
| Camco brass regulator, model 40055 (maker listing) | 40 to 50 psi | Preset range; maximum incoming pressure 125 psi |
| Renator adjustable regulator M11-0660R (maker listing) | Preset 45 psi | Adjustable up to 160 psi; maker says to follow your RV manual for the setting |
So the working answer is 40 to 50 psi, and the number in your own manual if it gives one. Forum posts quote older and newer manuals at figures from 40 to 60 psi; we did not verify those, and the safe move is the lower of your manual’s figure and 50. Never set an adjustable regulator higher than your manual allows just to get a stronger shower. If flow is weak, the cause is more often a clogged inlet screen, a spent filter cartridge or a kinked hose than the regulator setting.
Fixed vs adjustable regulators
| Fixed (preset) | Adjustable with gauge | |
|---|---|---|
| How it works | A spring and diaphragm set at the factory hold outlet pressure in a range | A screw sets the spring; a gauge shows outlet pressure |
| Typical setting | Commonly 40 to 50 psi | Set by you to your manual’s figure |
| Pros | Cheap, small, nothing to set or knock out of adjustment | You can see the pressure, set an exact number, and diagnose problems |
| Cons | You cannot see what it is delivering; some reduce flow noticeably | Bigger, costs more; gauge accuracy varies |
| Best for | Weekend and seasonal campers | Full-timers, older rigs, anyone who wants to know |
Winnebago’s editors found one built-in gauge reading about 20 psi higher than their separate test gauge. A gauge is a reading, not a guarantee. If you want to be sure, a plain hose-thread pressure gauge on the spigot tells you what the campground is supplying before you connect anything.
Where to fit it and in what order
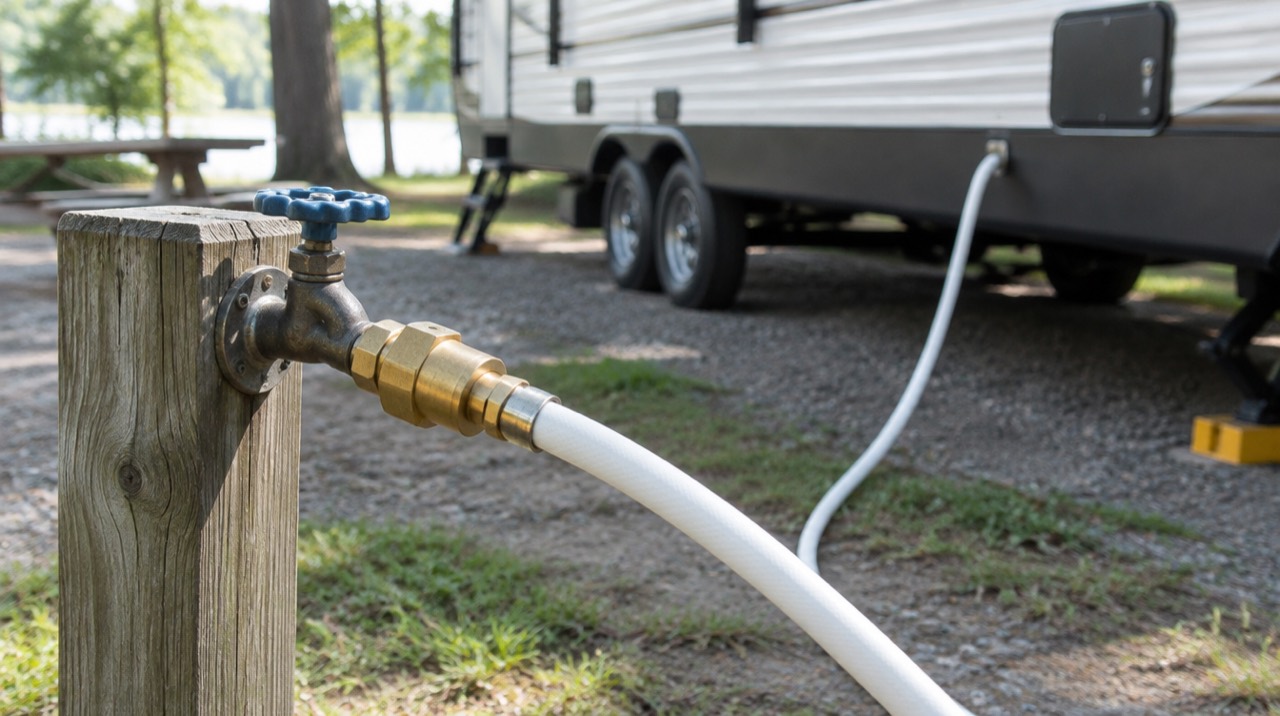
Both ends of the hose protect the RV. Winnebago describes the regulator connecting between the supply hose and the RV’s city water inlet. Many owners fit it at the spigot instead, so the hose itself never sees full pressure; a drinking-water hose with a weak crimp can burst on its own. A practical order from the spigot:
- Regulator (protects everything downstream, including the filter housing).
- Filter, if you use one. Our RV water filter guide covers inline and canister types.
- Drinking-water hose, kept for fresh water only.
- City water inlet on the RV.
Open the spigot slowly, check every joint for drips, then walk inside and look under the sinks. Jayco’s manual adds two rules for living with city water: never press the inlet’s check valve while there is pressure in the line, which ruins it, and disconnect city water and switch the pump off when you leave the RV unattended. A regulator limits pressure; it does not stop a leak from running for hours.
Checking a site’s pressure in one minute
If you own an adjustable regulator or a plain gauge, read the spigot before you connect: screw the gauge on, open the tap fully, note the number, then close it. Do it again in the evening if the site feels different, because pressure on a shared loop rises when neighbors are not drawing water. A reading well above your manual’s figure is not a reason to skip the site, only a reason to be certain the regulator is on and holding. A reading far below it explains a weak shower before you blame the regulator.
Filling the fresh tank and the black tank flush
Two cases people forget:
- Filling the fresh tank through a gravity fill does not pressurize the RV’s lines, so a regulator matters less there. On RVs with a pressurized fill or a “tank fill” valve setting on the city water inlet, water goes through the plumbing, so keep the regulator on. Fill risers at dump stations are often plumbed for fast filling; use the regulator there too.
- The black tank flush is a separate hose connection on many RVs that sprays inside the black tank. Jayco’s manual names it specifically as a place excessive pressure can arrive. Use a regulator on the flush hose as well, which means owning two or moving one between hoses. The flush hose is never your drinking-water hose; see our black tank care guide.
Living with a regulator
- Rinse the inlet screen if flow drops. Sediment collects there first.
- Do not leave it on the spigot overnight in freezing weather. A brass body full of water can crack. Our cold-weather camping guide covers hoses and freezing nights.
- Store it with the drinking-water hose, capped or in a bag, away from the sewer kit.
- Replace it if the body leaks or an adjustable model will not hold a setting. No maker we checked publishes a service life, so condition is the test.
- After sanitizing, run water through the regulator and hose too; they are part of the drinking-water path. The procedure is in our fresh water system guide.
Mistakes to avoid
- Skipping the regulator because the last park had low pressure. Pressure varies site to site and hour to hour.
- Setting an adjustable regulator above your manual’s figure for a stronger shower.
- Trusting a cheap built-in gauge absolutely. Cross-check if readings look strange.
- Putting the filter before the regulator. The filter housing then takes full pressure.
- Forgetting the black tank flush. It is plumbing too.
- Leaving city water connected when the RV is unattended, regulator or not.
Gear that helps with this job
Pick one type based on how you camp; full-timers often carry both, one on the drinking-water hose and one for the flush hose.
As an Amazon Associate we earn from qualifying purchases.
- For most people: the Camco brass RV water pressure regulator (model 40055). It is a fixed regulator that Camco lists as preset at 40 to 50 psi, the range the manufacturers above cite, with 3/4-inch garden hose threads and a lead-free certification to NSF/ANSI 372 for drinking-water use. Nothing to set, and small enough to leave on the hose.
 $10.29Price as of November 16, 2026, 10:00 AM ET. Prices and availability are accurate as of the date/time indicated and are subject to change. Any price and availability information displayed on Amazon.com at the time of purchase will apply to the purchase of this product.
- For full-timers and older rigs: the Renator adjustable brass regulator with gauge (M11-0660R). Renator lists it as preset at 45 psi with a liquid-filled gauge and an inlet screen, and says to set it according to your RV’s manual. The gauge is what makes it useful: you see what the park is delivering and can set your manual’s exact number.
 $28.88Price as of November 16, 2026, 10:00 AM ET. Prices and availability are accurate as of the date/time indicated and are subject to change. Any price and availability information displayed on Amazon.com at the time of purchase will apply to the purchase of this product.
Listings and prices change; check the current listing before buying.
Figures above are from Jayco’s owner’s manual, Winnebago’s published guidance and the regulator makers’ listings as read in October 2026. Your own manual’s pressure figure overrides all of them. New to hookups? Our first RV trip planning guide walks through connecting water, power and sewer in the right order on arrival.
Frequently asked questions
What PSI should an RV water pressure regulator be set to?
Use the figure in your RV's owner's manual. Jayco's manual recommends a regulator rated at 45 psi on the city water connection, and Winnebago's editors recommend regulators that hold pressure to 50 psi maximum. Fixed regulators sold for RVs are commonly preset in the 40 to 50 psi range. If your manual gives a different number, it wins.
Do I need a water pressure regulator if the campground pressure seems low?
Yes. You cannot see pressure, and it changes from site to site and through the day as other campers turn taps on and off. Jayco's manual warns that some parks, especially in mountain regions, deliver excessive pressure. A regulator costs little next to a split fitting behind a cabinet, so fit it every time you connect city water.
Where does the regulator go, at the spigot or at the RV?
Both positions protect the RV's plumbing. Winnebago describes it connecting between the supply hose and the RV's city water inlet. Fitting it at the spigot instead also protects the hose from full pressure, which is why many owners prefer that end. If you add a filter, the usual order from the spigot is regulator, then filter, then hose.
Fixed or adjustable water pressure regulator?
A fixed regulator is simple, cheap and has nothing to set; it suits most people. An adjustable regulator with a gauge lets you read the pressure and set it to your manual's number, and you can turn it down further for an older rig or up slightly if a fixed unit leaves the shower weak. Full-timers usually end up with the adjustable type.
How do I know if my RV water pressure regulator is failing?
Sudden low flow at every faucet, a gauge that reads far off what you set, or a regulator that leaks at the body are the usual signs. Inlet screens also clog with sediment, so check and rinse the screen first. Winnebago's editors found one built-in gauge reading about 20 psi higher than their test gauge, so a cheap separate gauge is a useful cross-check.
Keep planning
- How to Use an RV Dump Station Step by Step
How to use an RV dump station: black-then-gray order, hose setup, rinsing, chemicals, where to find free stations, typical fees and what never goes down the drain.
Updated Nov 2026 - RV Sewer Hose Setup: Length, Supports and Fittings
RV sewer hose setup explained: what length to carry, the clear elbow and 4-in-1 adapter, hose supports for a steady downhill run, valve habits and clean storage.
Updated Nov 2026 - RV Gear and Upgrades: Measure Before You Order
Fit guide for RV steps, bunk ladders, windows, shades, hose tubes, tote carriers and vents. Sizes come from the Amazon listings, including where a listing disagrees.
Updated Nov 2026